前提
腾讯云服务器 1核1G 40GB
系统镜像 centos7.6
1.安装git
yum provides git
yum -y install git
2.安装pip
CentOS默认python2.7.5环境,不支持pip
[root@localhost ~]# python -V
Python 2.7.5
[root@localhost ~]# pip -V
-bash: pip: 未找到命令
[root@localhost ~]#
[root@localhost ~]# yum -y install python-pip
已加载插件:fastestmirror
Loading mirror speeds from cached hostfile
没有可用软件包 python-pip。
错误:无须任何处理
[root@localhost ~]#
安装python3
[root@localhost ~]# yum -y install python3

[root@localhost ~]# python3 -V
Python 3.6.8
[root@localhost ~]#
[root@localhost ~]# pip3 -V
pip 9.0.3 from /usr/lib/python3.6/site-packages (python 3.6)
[root@localhost ~]#
pip3版本太低,需要升级,不升级会导致安装报错
升级pip3之前先把pypi镜像源更换为国内(阿里)源,不然升级pip3会出错,报错网络不可达,由于在 ~/ 目录下没有.pip目录,故创建
(我用的腾讯云服务器安装pip3之后自动生成不需要下面操作)
[root@localhost ~]# mkdir .pip
[root@localhost ~]#
[root@localhost ~]# ls -a
.   anaconda-ks.cfg  .bash_logout   .bashrc  .pip             .tcshrc
..  .bash_history    .bash_profile  .cshrc   .python_history  .viminfo
[root@localhost ~]# cd .pip/
[root@localhost .pip]# ls
编辑配置文件 pip.conf
[root@localhost .pip]# vim pip.conf
[root@localhost .pip]#
[root@localhost .pip]# cat pip.conf
[global]
index-url = https://mirrors.aliyun.com/pypi/simple/

[install]
trusted-host=mirrors.aliyun.com

[root@localhost .pip]#
此时再升级pip3
pip3 install –upgrade pip
[root@localhost ~]# pip3 install --upgrade pip
WARNING: Running pip install with root privileges is generally not a good idea. Try `pip3 install --user` instead.
Collecting pip
  Downloading https://mirrors.aliyun.com/pypi/packages/43/84/23ed6a1796480a6f1a2d38f2802901d078266bda38388954d01d3f2e821d/pip-20.1.1-py2.py3-none-any.whl (1.5MB)
    100% |████████████████████████████████| 1.5MB 30.5MB/s
Installing collected packages: pip
Successfully installed pip-20.1.1
[root@localhost ~]#
成功升级pip3
此时再查看pip版本
[root@localhost ~]# pip -V
pip 20.1.1 from /usr/local/lib/python3.6/site-packages/pip (python 3.6)
[root@localhost ~]#
3.安装Flask
pip install Flask
[root@localhost ~]# pip install Flask
Looking in indexes: https://mirrors.aliyun.com/pypi/simple/
Collecting Flask
  Downloading https://mirrors.aliyun.com/pypi/packages/f2/28/2a03252dfb9ebf377f40fba6a7841b47083260bf8bd8e737b0c6952df83f/Flask-1.1.2-py2.py3-none-any.whl (94 kB)
     |████████████████████████████████| 94 kB 1.6 MB/s
Collecting Werkzeug>=0.15
  Downloading https://mirrors.aliyun.com/pypi/packages/cc/94/5f7079a0e00bd6863ef8f1da638721e9da21e5bacee597595b318f71d62e/Werkzeug-1.0.1-py2.py3-none-any.whl (298 kB)
     |████████████████████████████████| 298 kB 5.1 MB/s
Collecting click>=5.1
  Downloading https://mirrors.aliyun.com/pypi/packages/d2/3d/fa76db83bf75c4f8d338c2fd15c8d33fdd7ad23a9b5e57eb6c5de26b430e/click-7.1.2-py2.py3-none-any.whl (82 kB)
     |████████████████████████████████| 82 kB 401 kB/s
Collecting itsdangerous>=0.24
  Downloading https://mirrors.aliyun.com/pypi/packages/76/ae/44b03b253d6fade317f32c24d100b3b35c2239807046a4c953c7b89fa49e/itsdangerous-1.1.0-py2.py3-none-any.whl (16 kB)
Collecting Jinja2>=2.10.1
  Downloading https://mirrors.aliyun.com/pypi/packages/30/9e/f663a2aa66a09d838042ae1a2c5659828bb9b41ea3a6efa20a20fd92b121/Jinja2-2.11.2-py2.py3-none-any.whl (125 kB)
     |████████████████████████████████| 125 kB 24.4 MB/s
Collecting MarkupSafe>=0.23
  Downloading https://mirrors.aliyun.com/pypi/packages/b2/5f/23e0023be6bb885d00ffbefad2942bc51a620328ee910f64abe5a8d18dd1/MarkupSafe-1.1.1-cp36-cp36m-manylinux1_x86_64.whl (27 kB)
Installing collected packages: Werkzeug, click, itsdangerous, MarkupSafe, Jinja2, Flask
Successfully installed Flask-1.1.2 Jinja2-2.11.2 MarkupSafe-1.1.1 Werkzeug-1.0.1 click-7.1.2 itsdangerous-1.1.0
[root@localhost ~]#
4.克隆CTFd
查看git版本
[root@localhost ~]# git --version
git version 1.8.3.1
[root@localhost ~]#
创建CTFd目录
[root@localhost ~]# cd /usr/local/
[root@localhost local]# mkdir CTFd
[root@localhost local]# ls
bin  CTFd  etc  games  include  lib  lib64  libexec  sbin  share  src
[root@localhost local]# cd CTFd/
[root@localhost CTFd]# pwd
/usr/local/CTFd
[root@localhost CTFd]#
开始克隆
git clone https://github.com/CTFd/CTFd.git
[root@localhost CTFd]# git clone https://github.com/CTFd/CTFd.git
正克隆到 'CTFd'...
remote: Enumerating objects: 216, done.
remote: Counting objects: 100% (216/216), done.
remote: Compressing objects: 100% (132/132), done.
remote: Total 10336 (delta 112), reused 125 (delta 78), pack-reused 10120
接收对象中: 100% (10336/10336), 14.90 MiB | 32.00 KiB/s, done.
处理 delta 中: 100% (6417/6417), done.
[root@localhost CTFd]# ls
CTFd
[root@localhost CTFd]#
[root@localhost CTFd]# cd CTFd/
[root@localhost CTFd]# pwd
/usr/local/CTFd/CTFd
[root@localhost CTFd]#
[root@localhost CTFd]# ls
CHANGELOG.md          Dockerfile  migrations        serve.py
conf                  docs        package.json      setup.cfg
CONTRIBUTING.md       export.py   populate.py       tests
CTFd                  import.py   prepare.sh        Vagrantfile
development.txt       LICENSE     README.md         webpack.config.js
docker-compose.yml    Makefile    requirements.txt  wsgi.py
docker-entrypoint.sh  manage.py   scripts           yarn.lock
[root@localhost CTFd]#
5.安装CTFd
pip install -r requirements.txt
[root@localhost CTFd]# pip install -r requirements.txt 6.启动CTFd
在服务器中的安全组添加端口4000(放行4000端口)
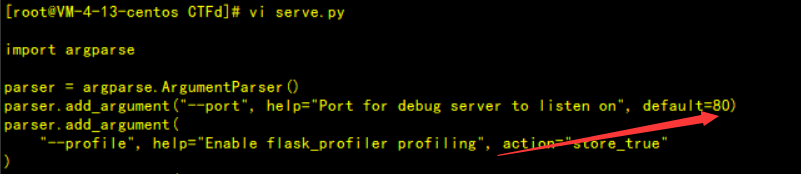
然后查看serve.py 文件
[root@localhost CTFd]# cat serve.py
from CTFd import create_app
import argparse

parser = argparse.ArgumentParser()
parser.add_argument("--port", help="Port for debug server to listen on", default=4000)
parser.add_argument(
    "--profile", help="Enable flask_profiler profiling", action="store_true"
)
args = parser.parse_args()

app = create_app()

if args.profile:
    from flask_debugtoolbar import DebugToolbarExtension
    import flask_profiler

    app.config["flask_profiler"] = {
        "enabled": app.config["DEBUG"],
        "storage": {"engine": "sqlite"},
        "basicAuth": {"enabled": False},
        "ignore": ["^/themes/.*", "^/events"],
    }
    flask_profiler.init_app(app)
    app.config["DEBUG_TB_PROFILER_ENABLED"] = True
    app.config["DEBUG_TB_INTERCEPT_REDIRECTS"] = False

    toolbar = DebugToolbarExtension()
    toolbar.init_app(app)
    print(" * Flask profiling running at http://127.0.0.1:4000/flask-profiler/")

app.run(debug=True, threaded=True, host="127.0.0.1", port=args.port)
[root@localhost CTFd]#
修改host为0.0.0.0(也可以修改端口4000为80这样不用在输端口,如果第一次操作建议先别修改端口等全部成功后拍摄一下快照然后在操作,这样其实出错也不至于从头开始)
print(" * Flask profiling running at http://0.0.0.0:4000/flask-profiler/")

app.run(debug=True, threaded=True, host="0.0.0.0", port=args.port)
[root@localhost CTFd]#
(也可以修改端口4000为80这样不用在输端口)

7.启动(推荐后台启动)
pyhton3 serve.py
[root@localhost CTFd]*# python3 serve.py* 后台启动方式
[root@localhost CTFd]# pwd
/usr/local/CTFd/CTFd
[root@localhost CTFd]#
[root@localhost CTFd]# nohup python3 serve.py &
[1] 5614
[root@localhost CTFd]# nohup: 忽略输入并把输出追加到"nohup.out"

[root@localhost CTFd]#
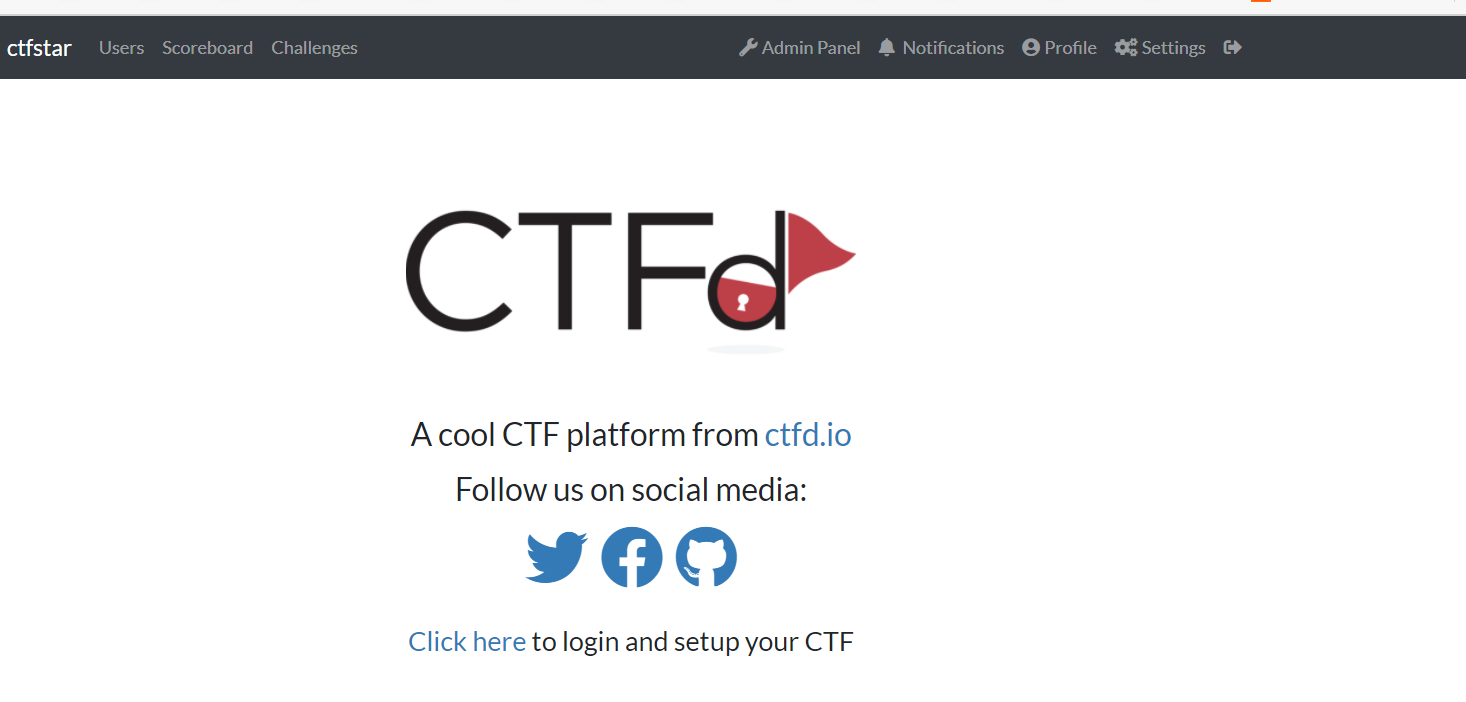
8.访问
打开浏览器访问http://ip:4000 (服务器中的公网ip)
访问到以后可以注册
Admin Username
Admin Email
Admin Password
然后逐步Next
最后Finish
然后重新访问